How to Download and Transfer YouTube Music to USB
- Updated on Jul. 4th, 2025
 Belinda Raman
- General, YouTube Music Tips
A USB drive, a portable flash memory storage stick, is commonly used for storage, backup, and transferring files. By using a flash drive, you don't have to worry about losing files anymore. If you download songs from YouTube Music to a USB flash drive, you can take your music anywhere and listen to them on any computer or portable player that supported a USB port.
But when you try to transfer YouTube Music to USB, you will find that you can't do that. That's because YouTube Music is a music streaming service, which allows Premium subscribers to stream music offline. The streaming YouTube Music files can only be played within the YouTube Music app, and can't be transferred to other devices like a USB flash drive.
Take it easy. In this post, you can check the best way to download and transfer YouTube Music to a USB flash drive with ease. Let's get started.
- Part 1. Download YouTube Music to USB - Tool Required
- Part 2. Download Music from YouTube to Computer for USB
- Part 3. How to Transfer YouTube Music to a USB Drive
Part 1. Download YouTube Music to USB - What Tool You'll Need
There is no direct way to get YouTube Music on a USB drive. Alternatively, you can convert YouTube Music songs to common audio formats like MP3, and then transfer MP3 files to the USB flash drive. Here, we'd suggest you resort to Macsome YouTube Music Downloader. It is well-designed for both YouTube Premium and free users.
This program is able to download YouTube Music songs, albums, and playlists without quality loss. Besides, it can convert YouTube Music to MP3, AAC, WAV, FLAC, etc. for being compatible with the USB drive. Thus, it is only too easy to save music from YouTube to a USB drive so that you can enjoy YouTube music on other devices via the USB flash drive without restriction.

Why Choose Macsome YouTube Music Downloader?
- Free download tracks, albums, playlists from YouTube Music.
- Convert YouTube Music to MP3, AAC, WAV, FLAC, AIFF, and ALAC.
- Support batch conversion and up to 10x faster conversion speed.
- Keep original sound quality and main ID3 tags information.
- Transfer Music from YouTube to USB, MP3 player, iPod, iPad, etc.
Part 2. How to Download Music from YouTube to Computer for USB
Macsome YouTube Music Downloader is compatible with both Windows and macOS. Download and install the right version on your computer, then follow these steps to get started:
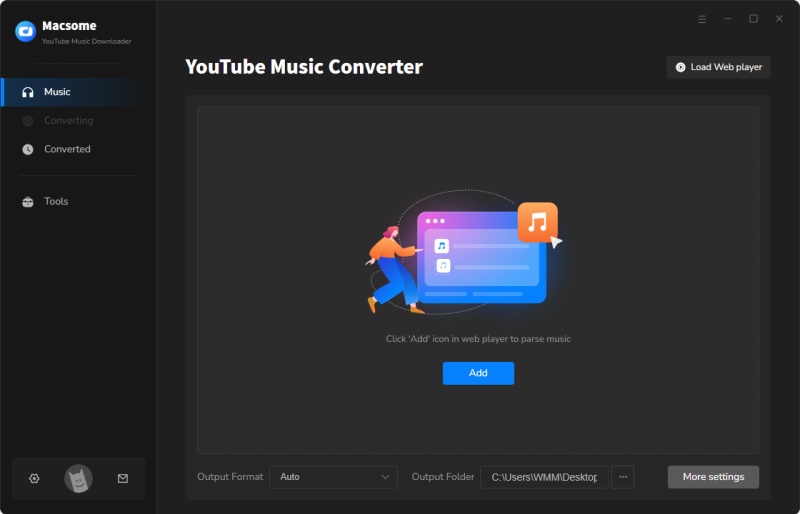
Step 1. Login YouTube Music Web Player
Once the program is started, and the YouTube Music web player will start at the same time. Now, you can access the YouTube Music library by signing in to the Google Account associated with your YouTube Premium or Music Premium membership. Free accounts are also available.
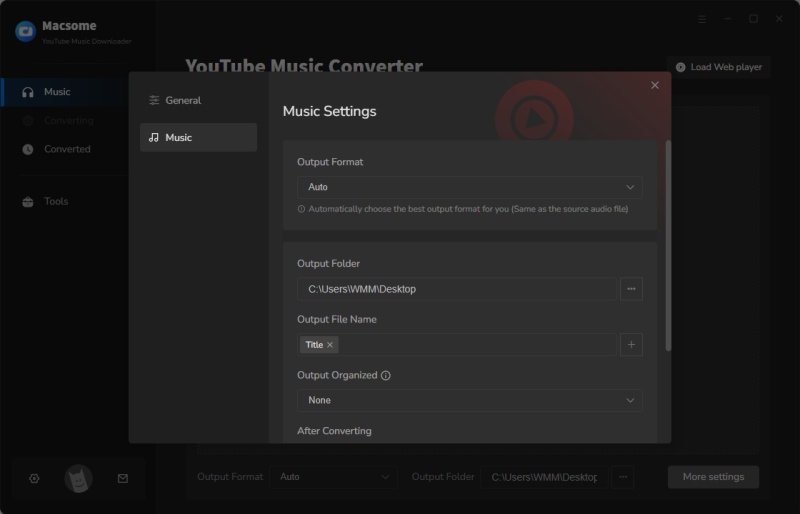
Step 2. Set Output Formats for USB Drive
Hit on the "Settings" option in the bottom left of the main interface, there are six common output formats offered by Macsome. To be compatible with the most USB portable player, MP3 could be the best choice. But for better audio quality, you can select lossless FLAC or WAV. Besides, you can also customize other audio parameters, like bit rate and sample rate.
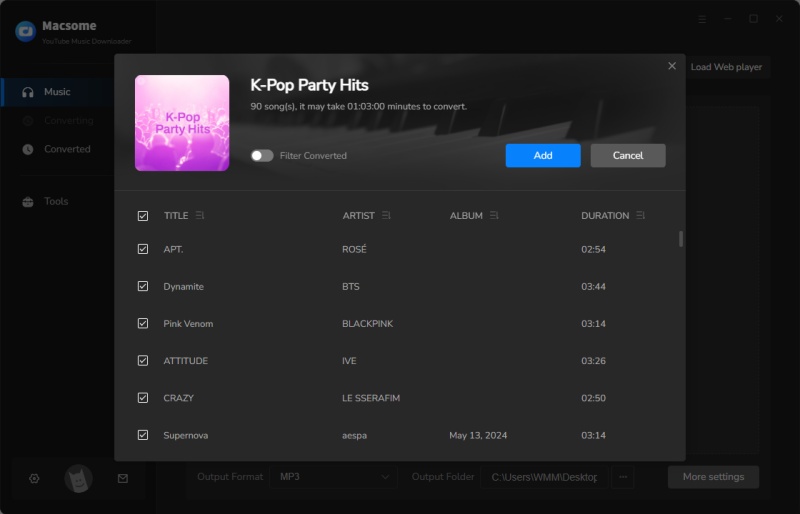
Step 3. Add YouTube Music and Playlists
Navigate to a playlist from YouTube Music you want to download to USB. Scroll down the page and press the "Click to add" button in the lower right, all the songs in the playlist will be loaded. Tick the songs you'd like to download.
Step 4. Start to Download YouTube Music to Computer for USB
Simply press the "Convert" button to start the downloading process. It will download YouTube Music tracks to plain audio files that you set before with up to 10x faster speed.
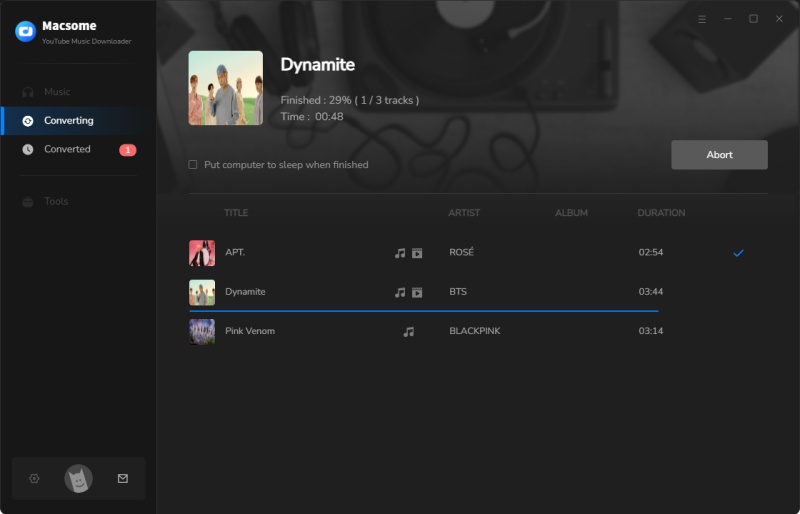
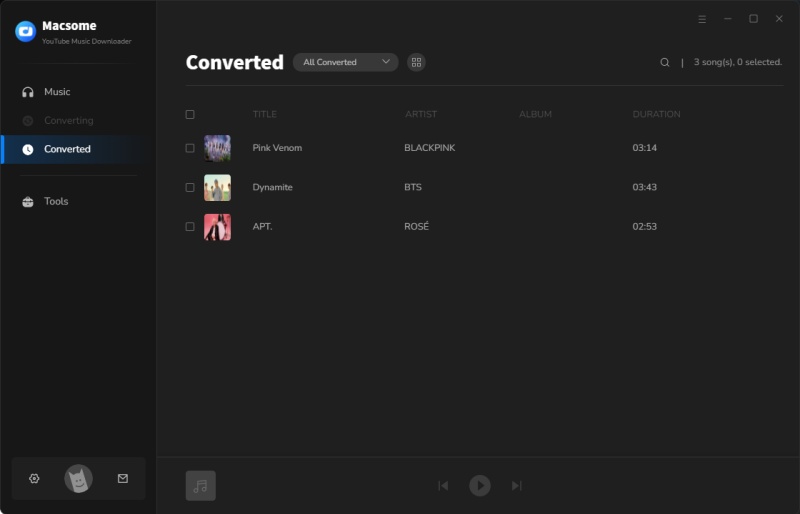
Once converted into MP3 files, these selected YouTube Music songs will be automatically saved on your local computer. You can find them in the "History" tab.
Part 3. How to Transfer YouTube Music on a USB Drive
Since you have downloaded YouTube Music songs to common MP3 files on your computer, now you can transfer the downloaded YouTube Music files to your USB drive. Let's move on and see how to do:
1. Simply plug your USB flash drive into a USB port on your computer, you will see it on the computer Windows Explorer or Mac finder. Double-click to open it, you can create a new folder to save YouTube Music files.
2. Find the downloaded YouTube Music tracks on your computer. Then you can copy and paste them to the folder you just created on your USB drive. What's more, you can also drag them from your computer to the USB device folder directly.
When the transfer is complete, safely remove the USB flash drive. Now you can listen to YouTube Music tracks on any device that supported a USB port even without the YouTube Music app.
Conclusion
By the time you finish reading this article, I hope to convince you that, transferring YouTube Music to USB is as simple as it is sound with the help of Macsome YouTube Music Downloader. Then you can listen to YouTube Music on smart TVs, game consoles, in your car, or other devices you want through the USB flash drive.
Macsome YouTube Music Downloader has a free trial version, which enables you to convert the first minute of each song. You can unlock the time limitation by purchasing the full version.