Part 1: How to Register Macsome YouTube Music Downloader?
First, download, install, and launch Macsome YouTube Music Downloader on your PC.
Step 1: You can directly click the profile option on the left, or click the icon on the top-right user interface, and choose "Register" option in the drop-down list.
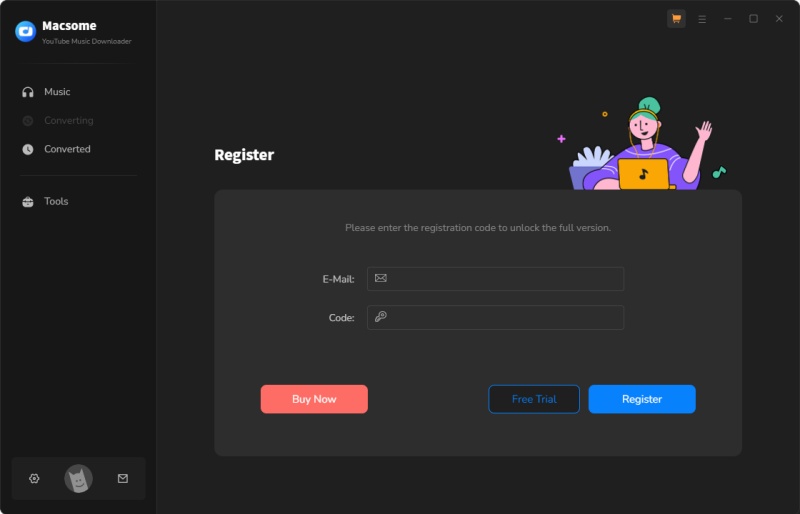
Step 2: In the registration popup dialog, copy and paste the registration email and code, then click "Log In".
Part 2: How to Download YouTube Music and Music Videos on Windows?
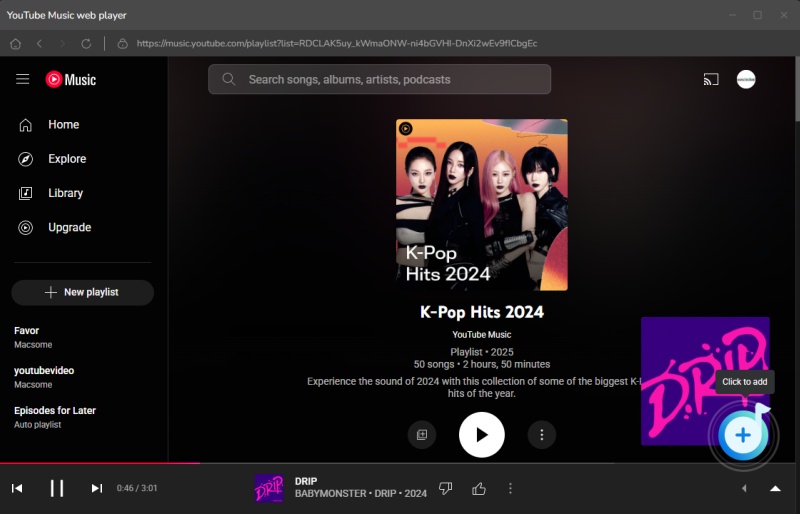
Step 1. Login YouTube Music Web Player
Start Macsome YouTube Music Downloader on your PC, the YouTube Music web player will open at the same time. Then log in to your account, the YouTube Music free account is also available.
If the web player doesn't appear automatically, you can manually open it by clicking on the blue section of the main interface or using the "Open the webplayer window" button.
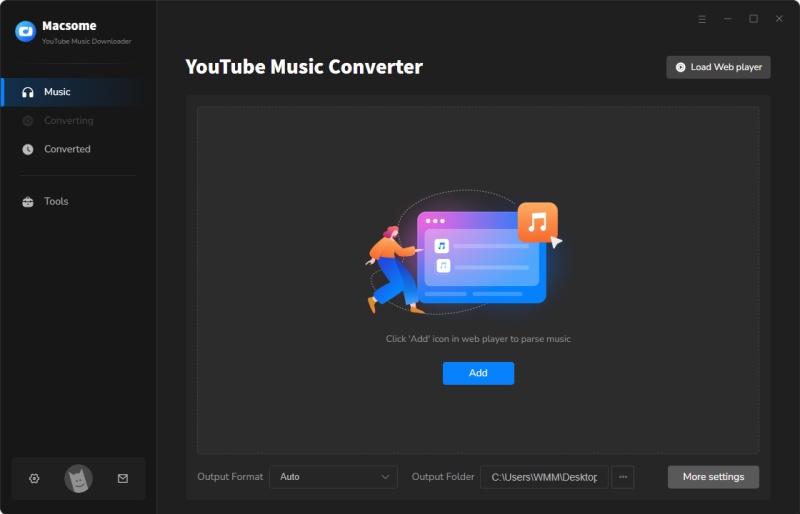
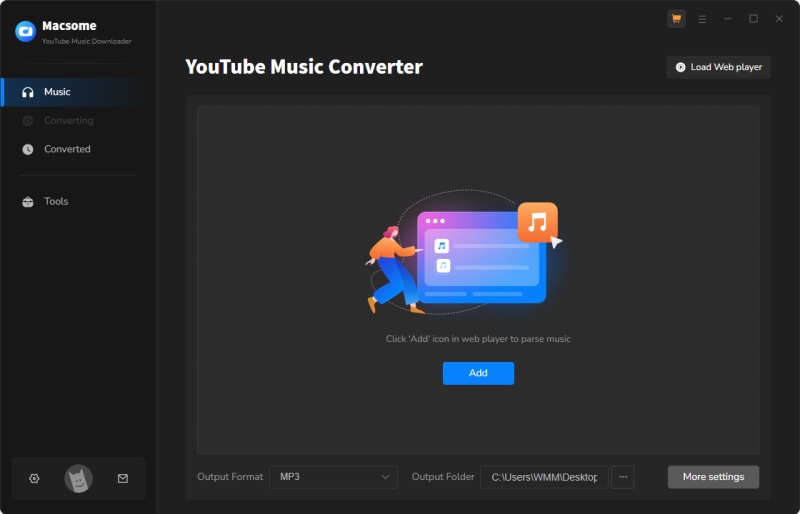
Step 2. Set the Output Formats and Other Parameters
In the main interface, you can select the output format or output folder as you need. Click the "More Settings" option, you can change other output parameters.
- Output Format: Auto, MP3, AAC, WAV, FLAC, AIFF, ALAC
- Bit Rate: 320kbps, 256kbps, 192kbps, 128kbps
- Sample Rate: 44.1KHz, 48KHz, 96KHz, 192KHz
- Output File Name: Track Number, Title, Artist, Album, Playlist Index, Year
- Output Organized (way): None, Playlist, Artist, Album, Artist/Album, Album/Artist, Playlist/Album, Playlist/Artist
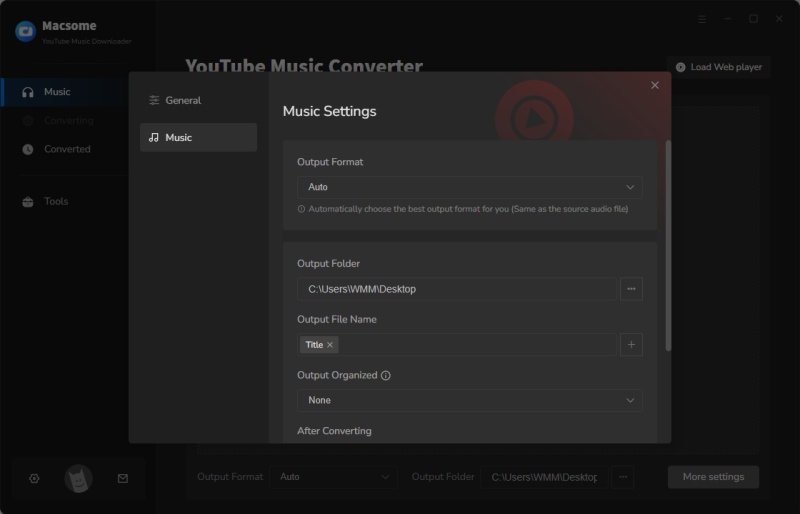
For better organization of your downloaded YouTube Music files, you can save the output audio files into folders sorted out by artist, album, or playlist. In addition, Macsome allows you to customize the name of the output files and save the output audio files in the same order as the original playlist.
Step 3. Add Music, Playlists, or Albums from YouTube to Macsome
Open a track, album or playlist, then you can click the "Click to add" button to add the music you want to convert.
Macsome YouTube Music Downloader will parse the selected playlist and display them in a pop-up window. By default, all items are selected, but you can manually select the songs you want.
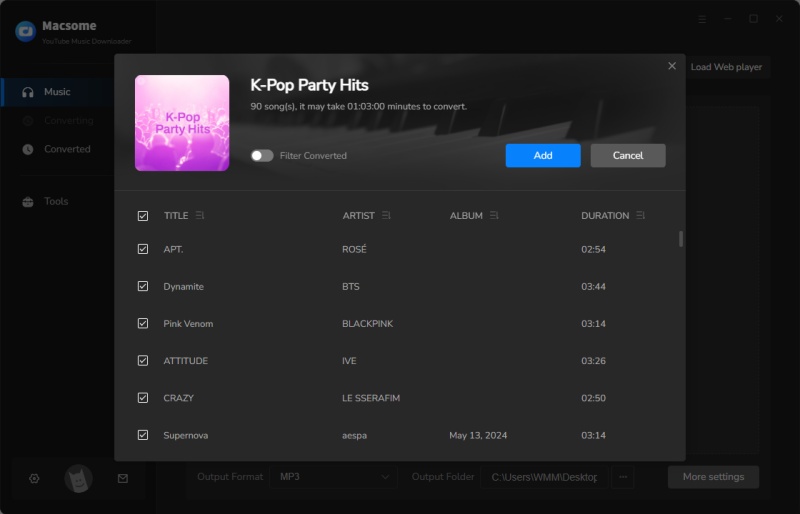
Then, click the "Add" button, all the songs will be listed on the main window. You can click the "Add More" button to continue choosing songs from other playlists or albums.
Tips to Download YouTube Music videos: If YouTube Music includes the Music video, please check the "Also download the music video (If provided)" option, and then the YouTube Music tracks as well as the Music videos will be downloaded together.
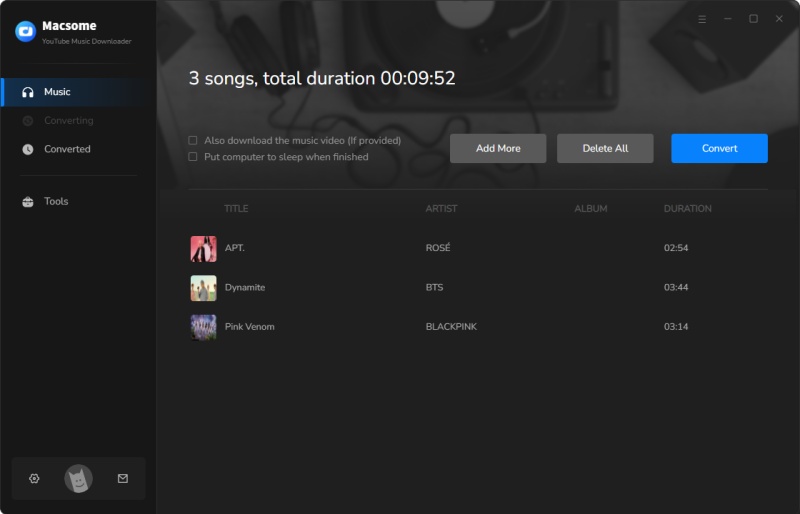
Step 4. Start to Download YouTube Music
Click the "Convert" button to start downloading music from YouTube.
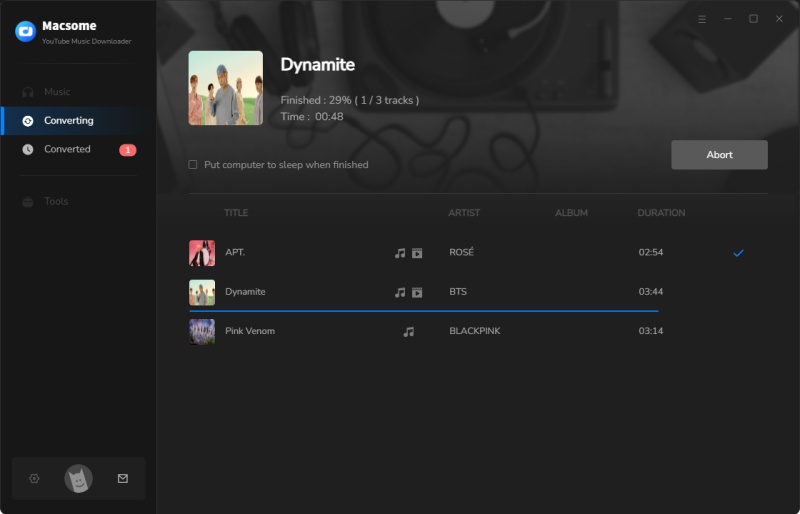
After the conversion, you can find the downloading history from the "History" tab, hover the mouse over the folder icon, you will find the downloaded YouTube Music files on your local folder. If YouTube Music provided the music video, turn on the tab, music videos are downloaded along with the tracks.
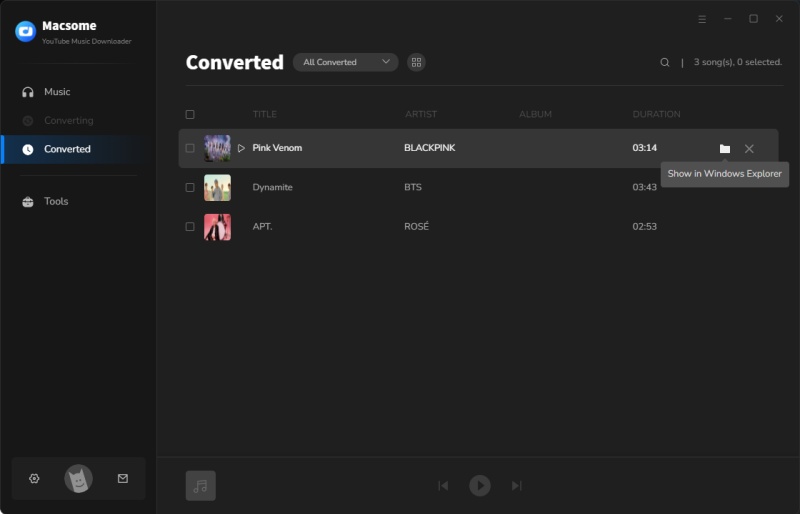
Select all the downloaded songs, you can directly export the downloaded YouTube Music songs to Apple Music, burn YouTube Music to CD, or edit tag information by one-click.

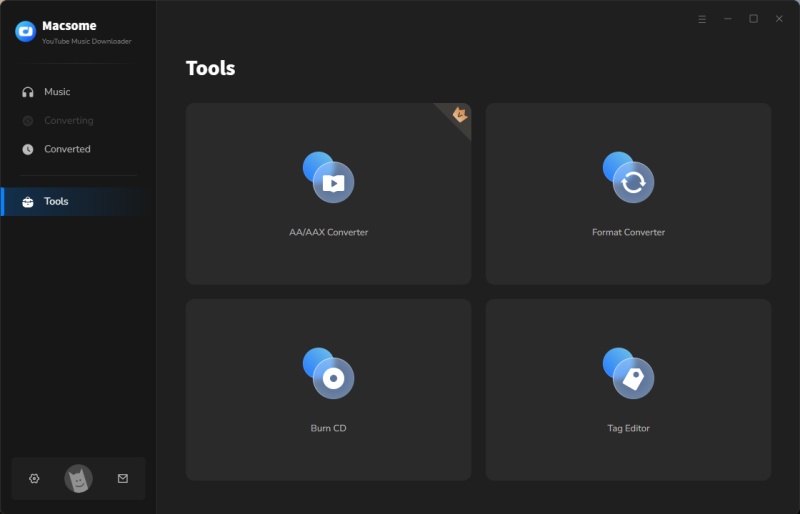
Part 3: Built-in Tools: AA/AAX Converter, CD Burner, Format Converter, Audio Editor, and Tag Editor
Macsome YouTube Music Downloader can not only convert YouTube Music to MP3 or other common audio formats, but also offers the useful tools, including AA/AAX Converter, Format Converter, CD Burner, Audio Editor, and Tag Editor.
AA/AAX Converter
The AA/AAX Converter allows you to convert local Audible AA or AAX audiobooks to MP3, M4A, and M4B, but this tool is only available for the registered users. Besides, click the gear icon , you can split audiobooks by chapter, minute or hour, or segment.

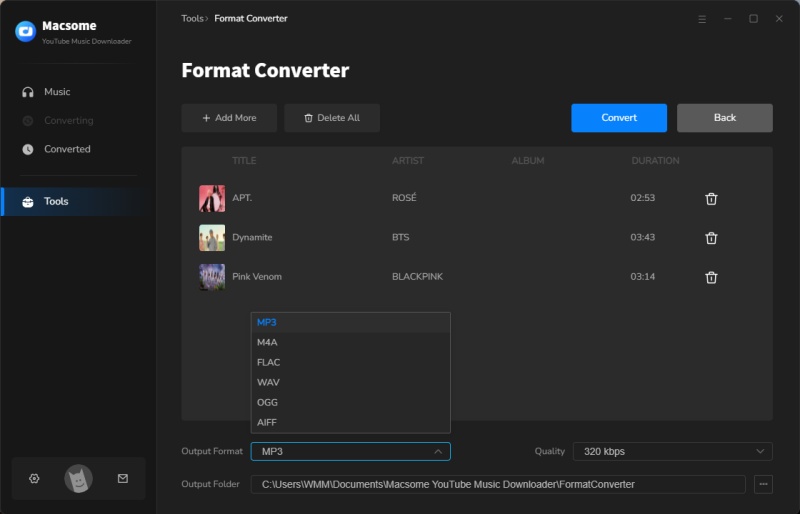
Format Converter
Go to the "Tools" tab on the left, then select the "Format Converter", click "+ Add" button to select the music files from your computer to convert them to MP3, M4A, FLAC, WAV, OGG, AIFF, and ALAC.
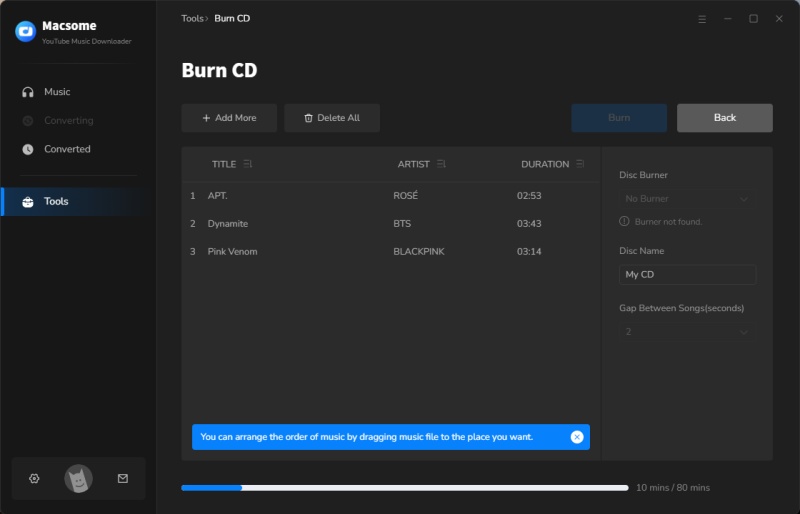
CD Burner
Select the "Burn CD" from the "Tools" pane, click "+ Add" button to select the songs from your local computer, insert a blank CD. Hit on the "Burn" button to start the burning process. Wait a moment, your songs will be burned to a CD successfully.
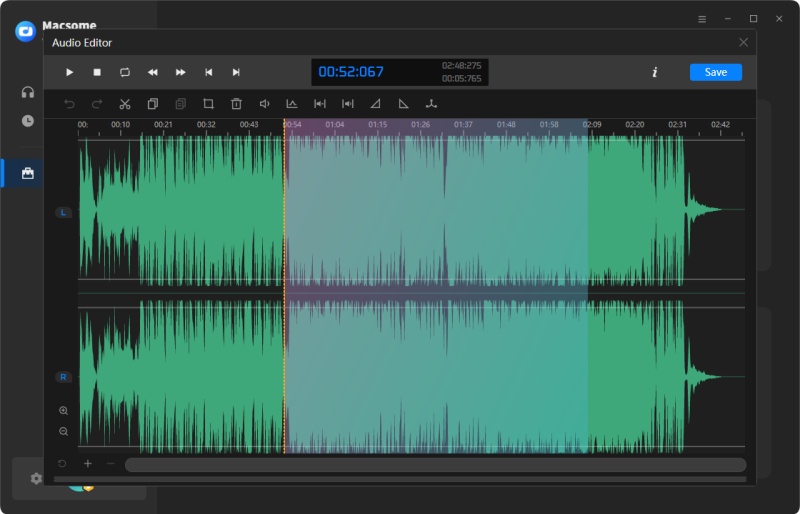
Audio Editor
Tap the "Audio Editor" from the "Tools", click "Open" button to select the songs from your local computer, you can cut, copy, paste, trim, split, and delete audio segments with precision, often down to the millisecond, and then export them into a wide range of audio formats.
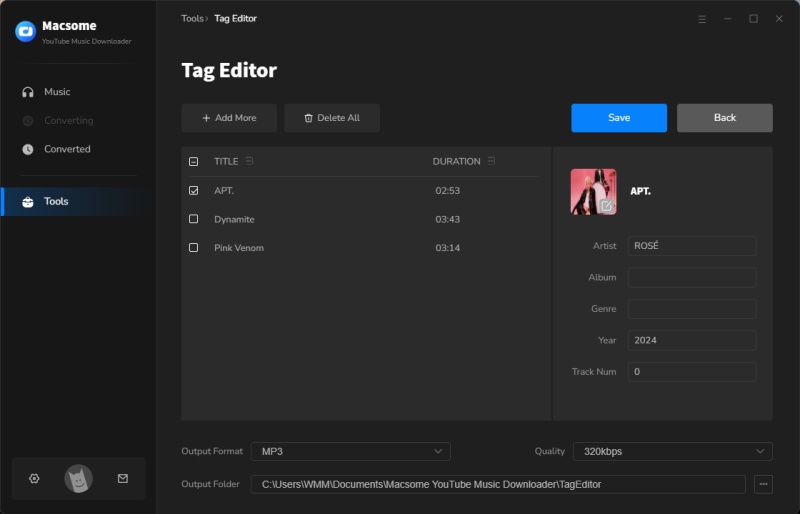
Tag Editor
Click on the "Tools" - "Tag Editor", then select the songs from the local folder by clicking the "+ Add" to edit tags, such as Artwork, Title, Album, etc.