Part 1: How to Register Macsome Spotify Downloader for Windows?
Launch Macsome Spotify Downloader on your PC.
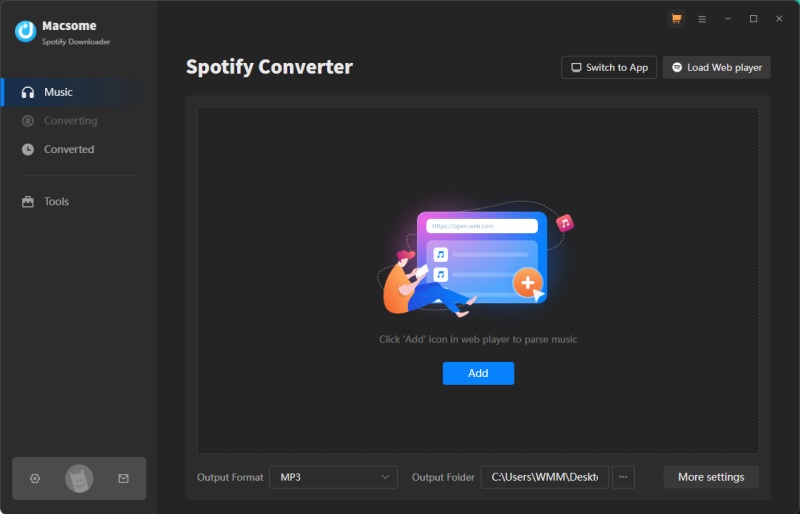
Macsome Spotify Downloader offers two download options, which let you either download music from the Spotify app or through the Spotify web player. You can change the download option in the top right-hand corner. The registration process is the same for both download modes. Here we'll take the Spotify app mode as an example.
Step 1: You can directly click the profile icon in the lower left corner. Or click the button on the top-right user interface, and choose "Register" option in the drop-down list.

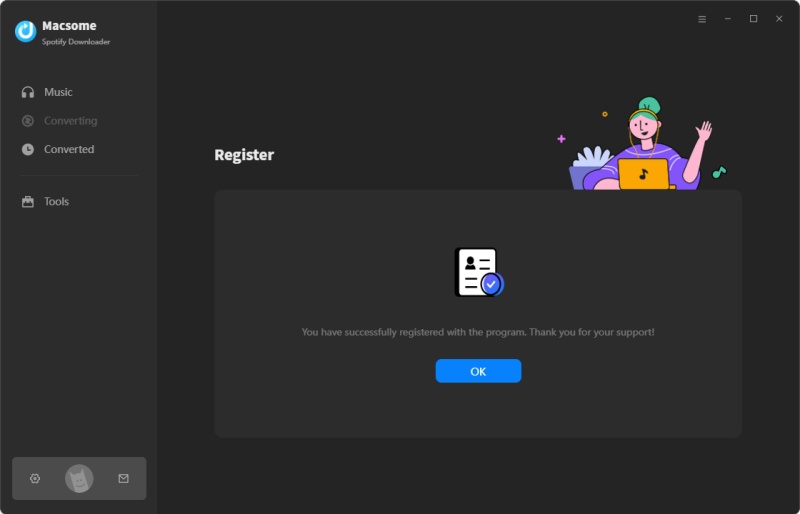
Step 2: Copy and paste the registration Email and Code into the registration popup dialog, then click "Register".
Part 2: How to Download Spotify Music Without Premium by Using Macsome Spotify Downloader?
Step 1. Launch Macsome Spotify Downloader on Your PC
Download, install, and launch the latest version of Macsome Spotify Downloader on your computer.
Step 2. Import Spotify Music and Playlists
Download from the Spotify App: If you focus more on the output quality, we'll be more likely to recommend you use the first option - download music from the Spotify App. It will allows you get the best 320kbps output quality with up to 10X faster speed. If you choose to convert songs from the Spotify App, you'll find the Spotify app opened at the same time.
There are two methods to import music from the Spotify app to Macsome. You can directly drag and drop the playlist to the dotted bordered rectangle, or copy and paste the Spotify song or playlist link to the blue box.

Download from the Spotify web player: If you pay attention to the speed, you could choose to download music from the Spotify web player. When you click on the second option, the Spotify web player will launch, sign in to your Spotify account.
Go to the Spotify web player, search for a playlist you want to download, and then click the "Click to add" button to parse this playlist.
No matter which download option you choose, when you import the playlist to Macsome, the program will parse the link, then all the tracks of this playlist will list on the panel.
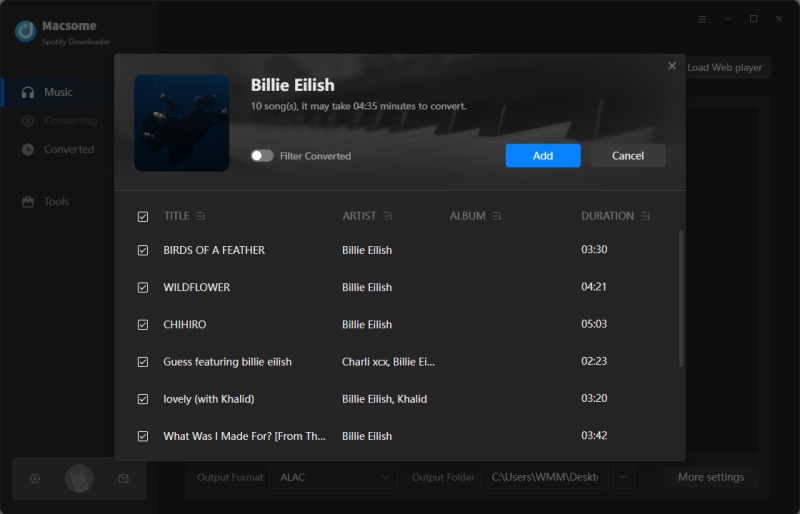
Then check the songs you want to download and click the "Add" button.
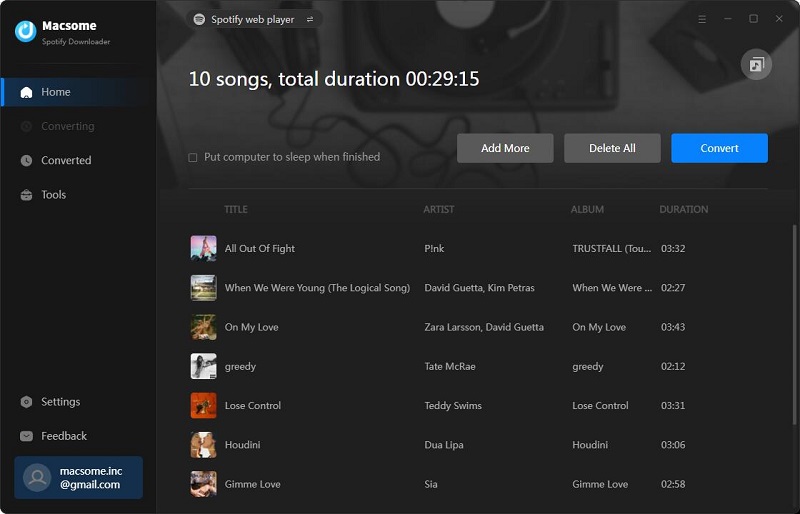
Step 3. Choose Output Format or Other Parameters
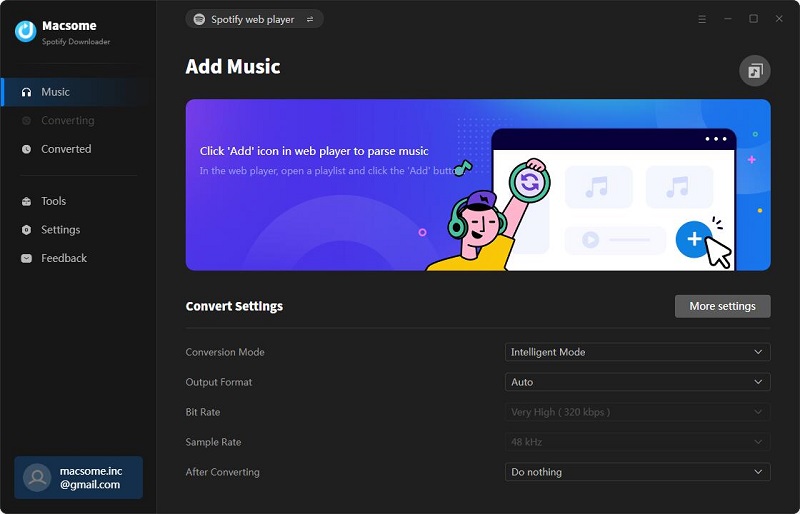
Click on the settings gear icon at the bottom left to choose the Output Format ( Auto / MP3 / AAC / FLAC / WAV / AIFF / ALAC), the conversion mode (Intelligent Mode, Spotify Record, Web Download, or YouTube Download), the Bit Rate (320kbps, 256kbps, 192kbps, 128kbps), and Sample Rate (44.1kHz, 48kHz, 96kHz, 192kHz).
You can also change the Output Folder and Output File Name. For better organizing your music library, you can save the output audio files into organized folder like Playlist, Artist, Album, Artist/Album, Album/Artist, Playlist/Album, or Playlist/Artist.

Step 4. Start to Download Music from Spotify
Click "Convert" button to start converting the Spotify songs to the output format you chosen.
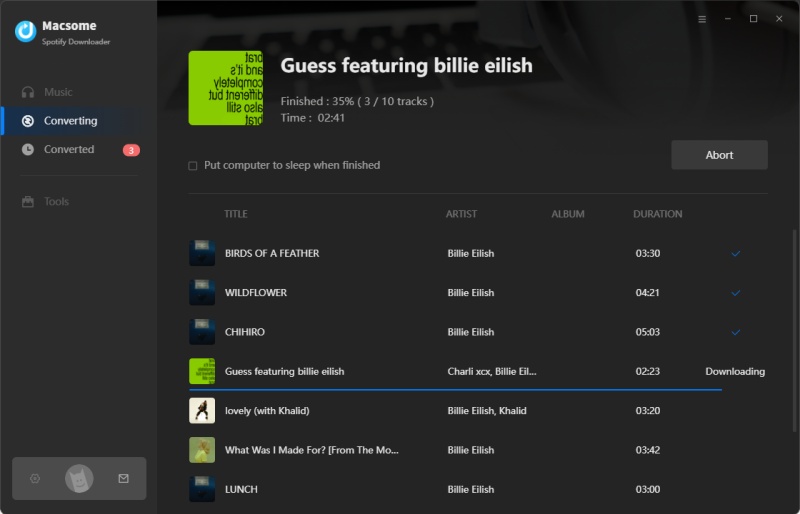
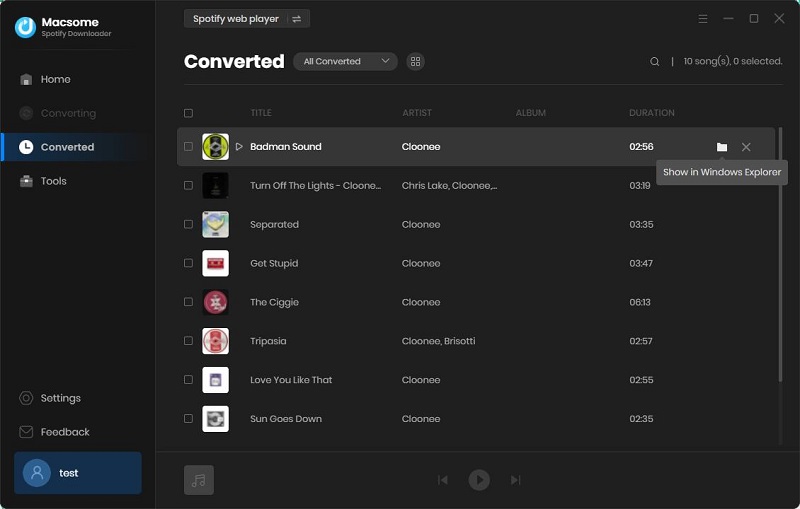
After the conversion is completed, you can click "Converted" to find the well converted music. Select all the downloaded songs, then you can export the Spotify music to iTunes by one-click.
Part 3: How to Use Tools of Macsome Spotify Downloader?
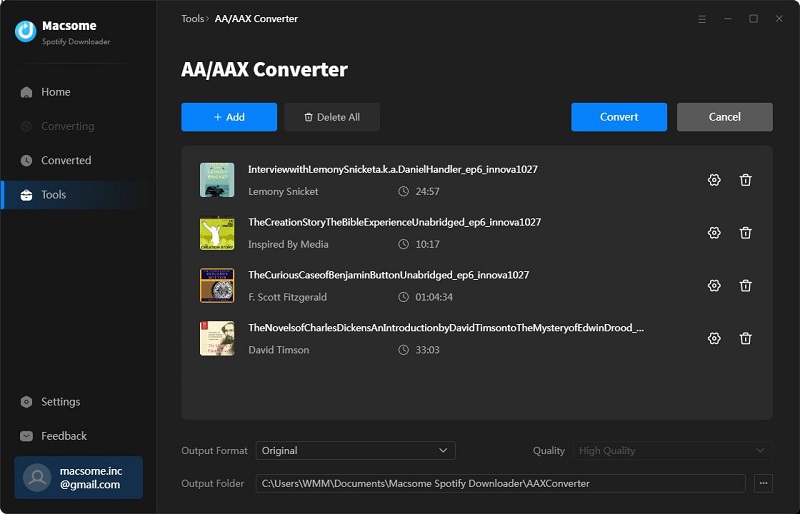
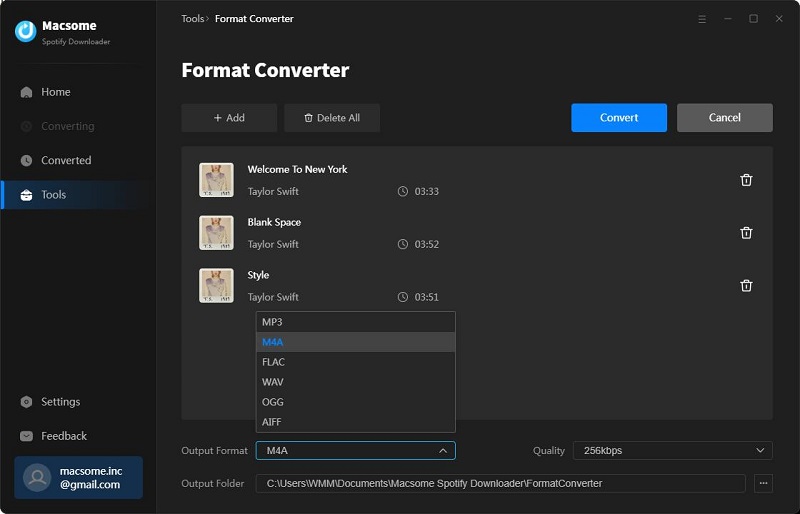
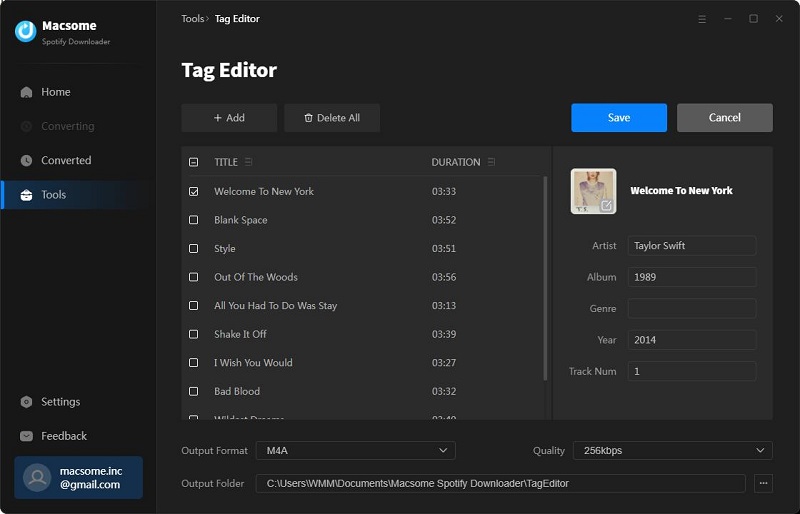
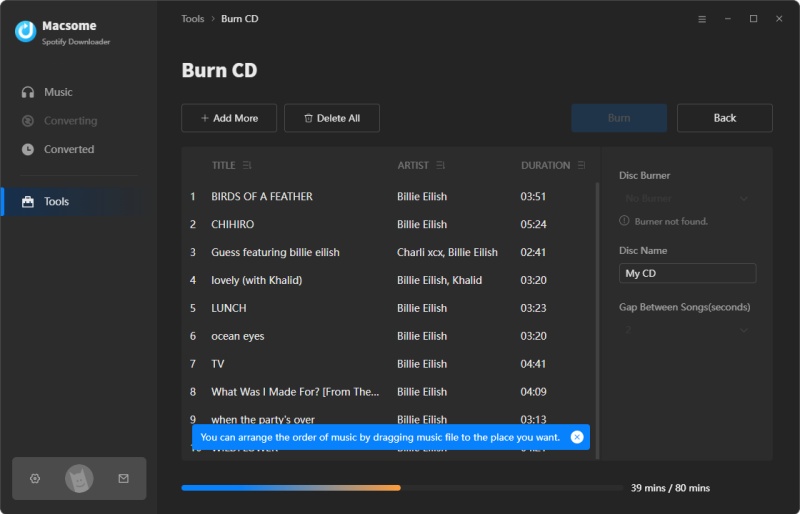
Macsome Spotify Downloader for Windows provides four useful tools, including AA/AAX Converter, Format Converter, CD Burner, and Tag Editor.

"AA/AAX Converter" can suppor downloading Audible audiobooks to MP3, M4A, and M4B without quality loss. This tool is only available for the registed users.
Format Converter supports to convert the downloaded Spotify tracks and local music files to MP3, M4A, FLAC, WAV, OGG, AIFF, or ALAC format.
With Tag Editor, you could edit the important meta information, such as track artwork, title, album, year, etc., by clicking the Tools tab, and then "Tag Editor".
Macsome Spotify Downloader also offers a free CD Burner, which lets you burn Spotify music or other local music files to CDs directly. Tap the Tools tab, and select the "Burn CD". Click the "+Add" button to import the tracks from your computer, insert the CD, and rename the CD's name. Then hit the "Burn" button, the burning process will start.
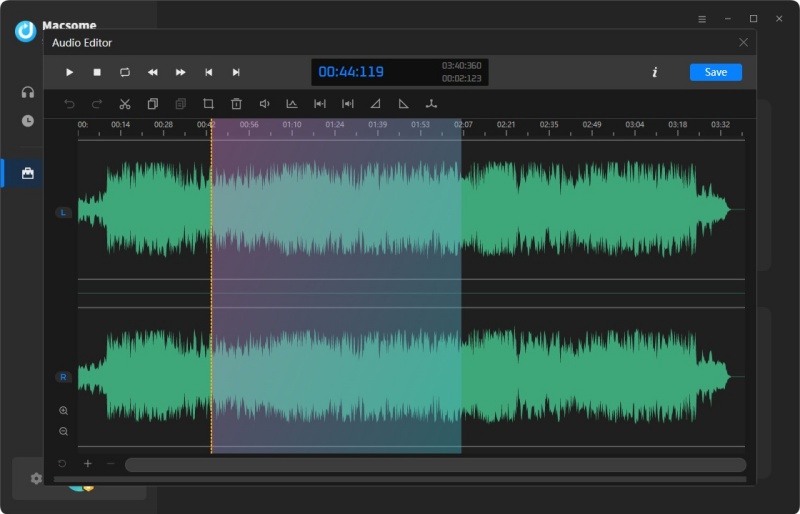
The free Audio Editor can remove unwanted sections, trim audio clips, or split files into smaller parts for precise editing. Add smooth transitions for professional-sounding intros and outros, useful for podcast or music edits.
