Part 1: How to Register Macsome Amazon Music Downloader for Windows?
Before started, please download, install, and run Macsome Amazon Music Downloader on your PC.

Step 1: You can directly click the profile icon on the left to open the registration window. Plus, you can also hit on the menu bar from the upper-right corner to select the "Register" option to log in with your email address and registration code to activate it.
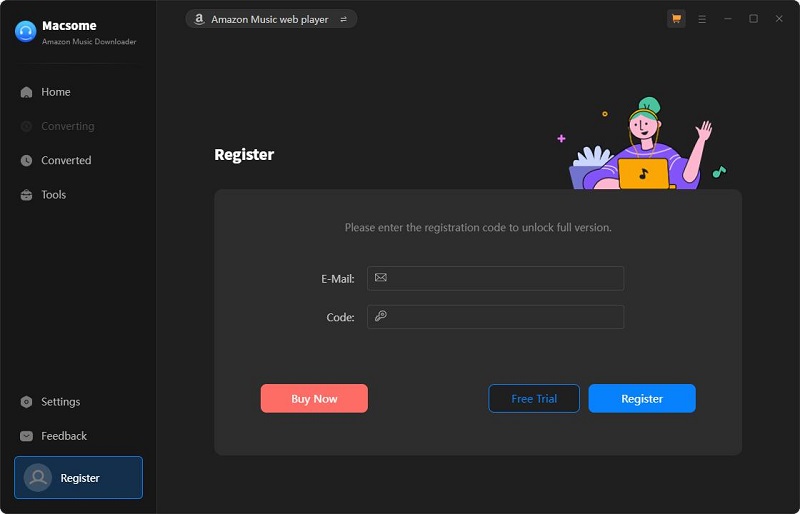
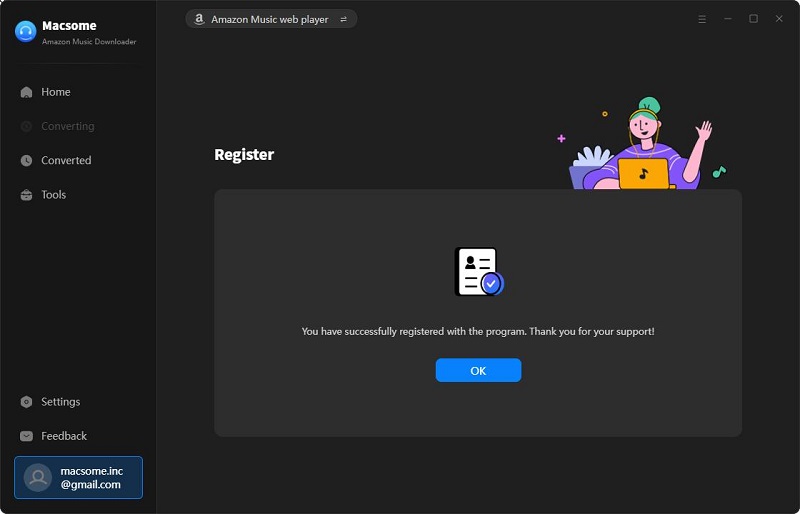
Step 2: Copy and paste the license into the registration popup dialog, then click "Register".
Part 2: How to Use Macsome Amazon Music Downloader for Windows?
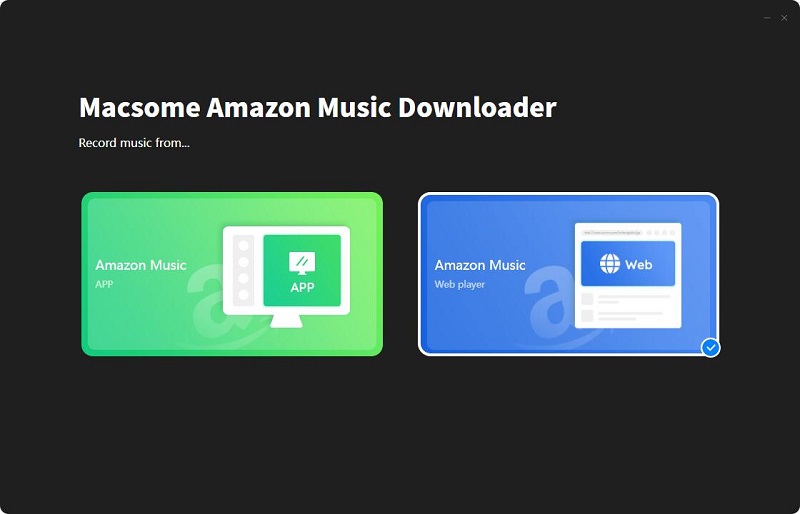
Macsome Amazon Music Downloader provides two download modes, which let you download music from the Amazon Music app or through the Amazon Music web player. You can choose either of them as you need.
Amazon Music App: Download music at 5X speed; keep Ultra HD/HD quality.
Amazon Music Web Player: Download Amazon Music at 10X speed, keep HiFi audio quality.
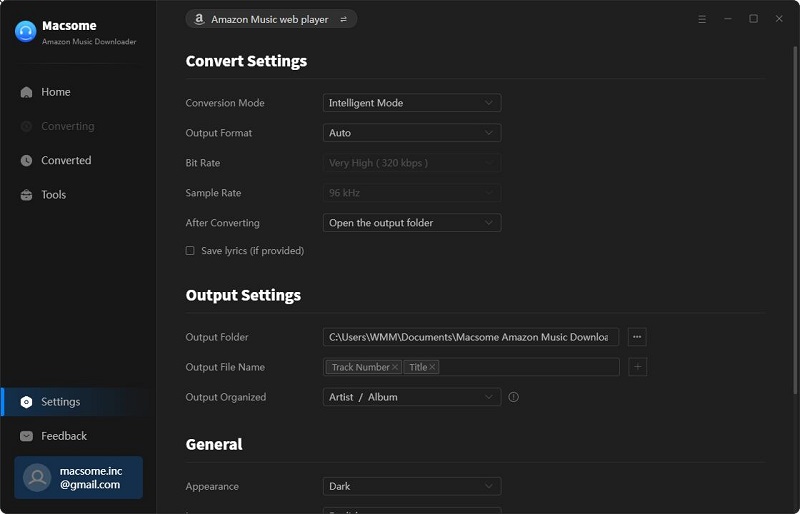
Step 1. Set the Output Formats and Other Parameters
Click on the , and you will see the Settings pop-up window. You can set the Output Format (Auto/MP3/AAC/FLAC/WAV/AIFF/ALAC), Bit Rate (320kbps, 256kbps, 192kbps, 128kbps), Sample Rate (44.1kHz, 48kHz, 96kHz, 192kHz) and Output Path.
What's more, if you want to organize the converted Amazon Music files, you can also set the Output Organized like Playlist, Artist, Album, Artist/Album, or Album/Artist.
Step 2. Add Amazon Music
Record music from the Amazon Music app: Tap the Amazon Music App option, and Amazon Music app will start at the same time.
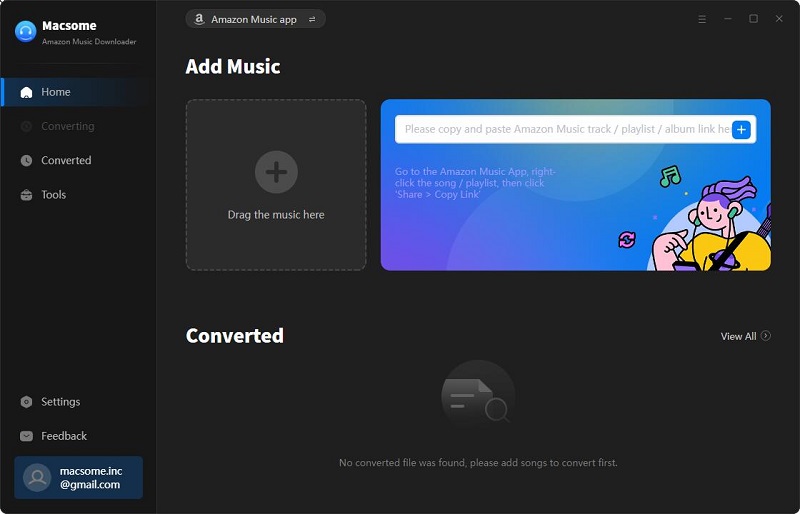
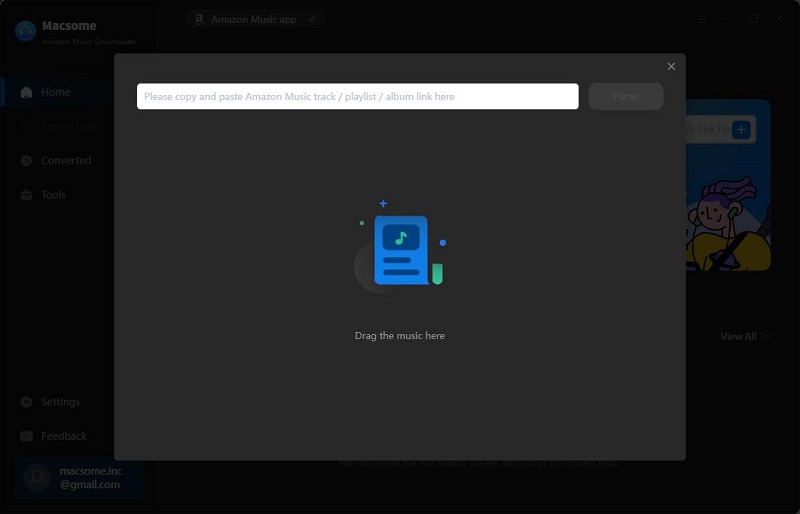
Open a playlist, artist or album on the Amazon Music app, directly drag and drop the playlist from the Amazon Music app to the rectangular box. Plus, you could also copy and paste the link for parsing.
Record music from the Amazon Music web player: If you choose the Amazon Music web player option, and Amazon Music web player will start at the same time. Use your Amazon Music account to log in.
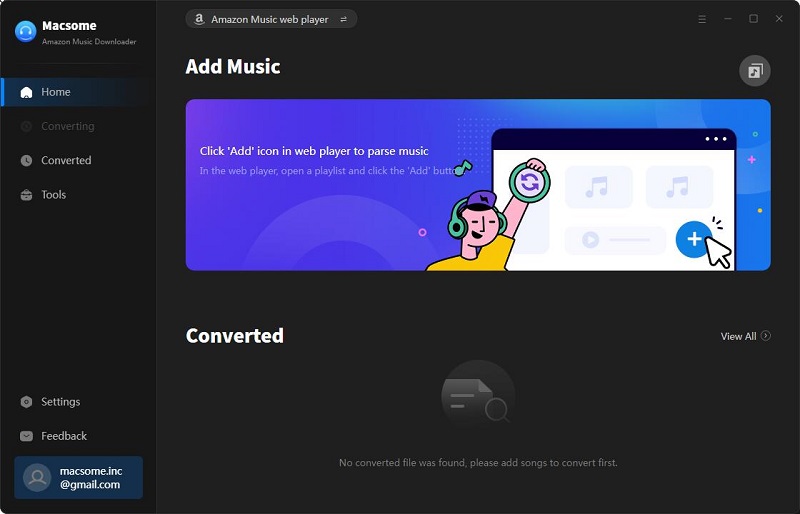
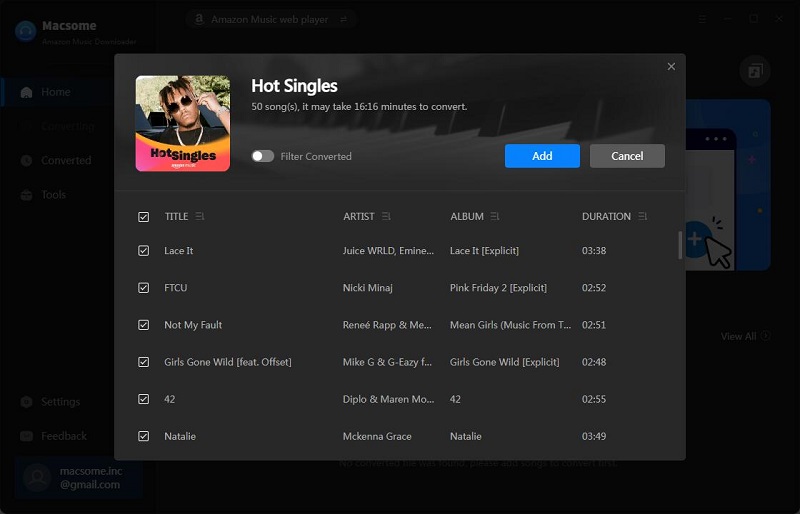
Open a track, album, podcast or playlist, then you can click "Add" icon to select the music you want to convert.

Select songs you want to download of this playlist and click "Add" button to import it to Macsome main pane.
Step 3. Start to Download Amazon Music
To add more songs from other playlists, simply click the "Add More" button.
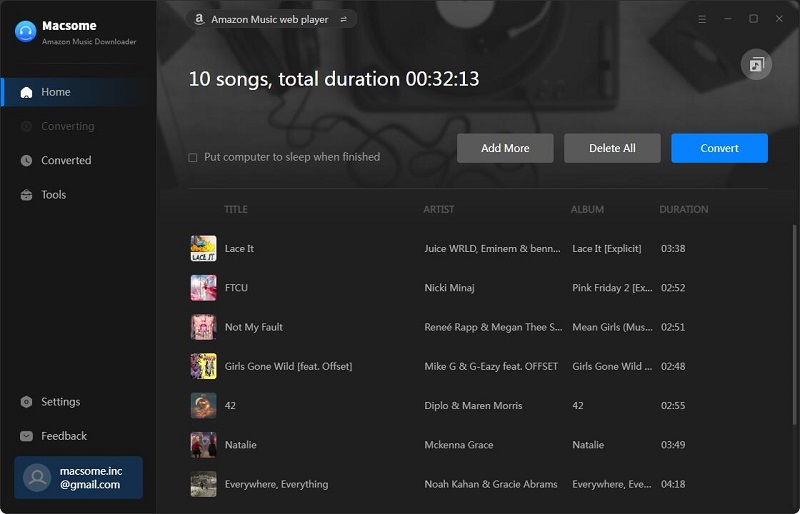
Or directly click the "Convert" button to start downloading Amazon Music files to the output format you chosen.
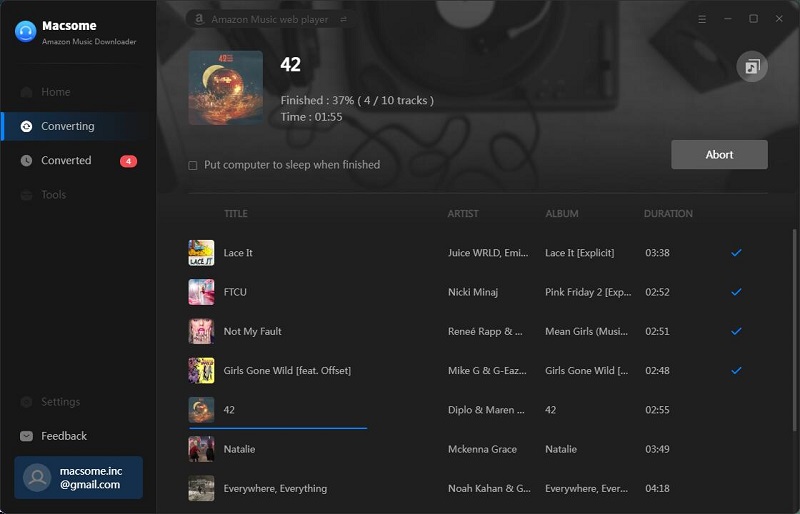
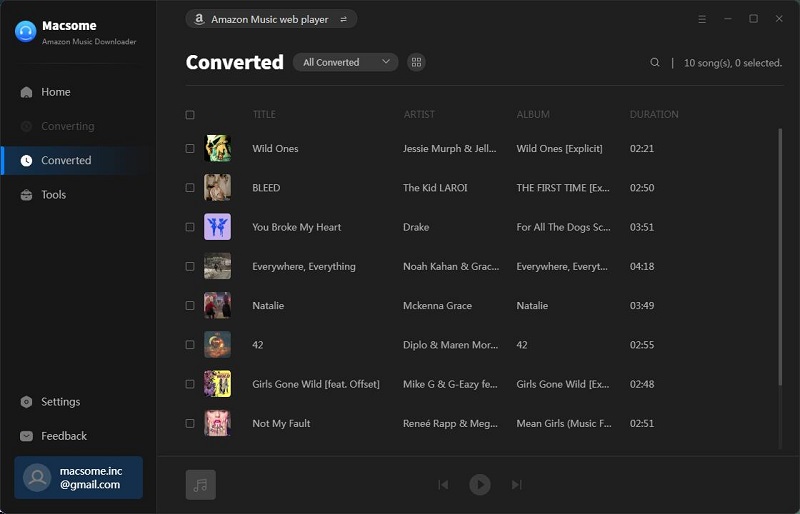
When the conversion is completed, you can find the downloaded Amazon songs by clicking the "History" icon.
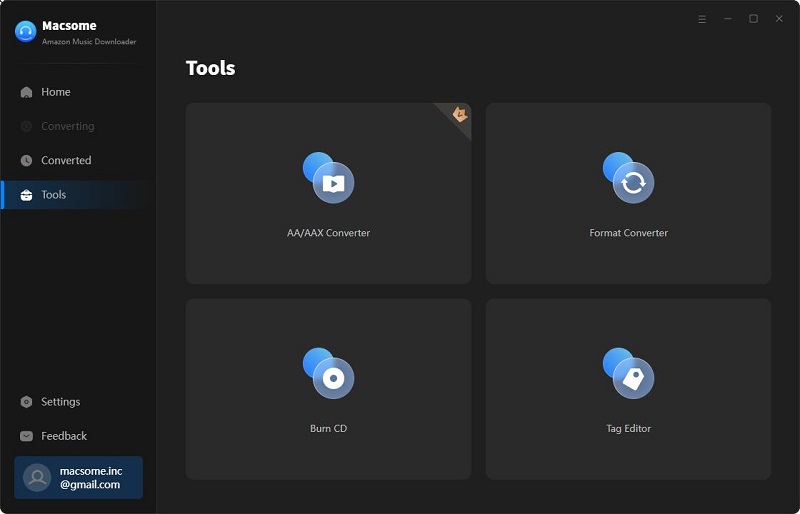
Part 3: How to Use Macsome Amazon Music Downloader Built-in Tools?
Macsome Amazon Music Downloader also offers four smart tools, such as AA/AAX Converter, Format Converter, CD Burner, Audio Editor, and Tag Editor. You can access these tools from the left toolbar by selecting the "Tools" option.
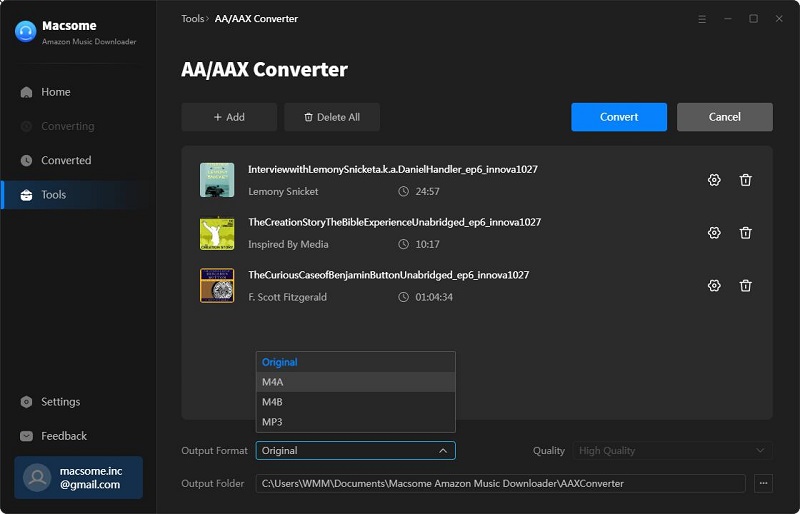
AA/AAX Converter
The AA/AAX Converter lets you convert local Audible audiobooks to MP3, M4A, and M4B with original quality. Besides, you can also split audiobooks by chapters, segments, or time segment.
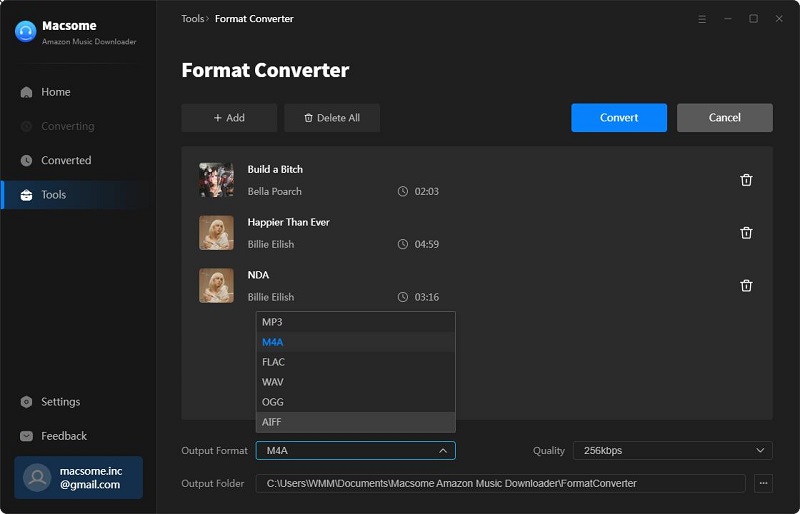
Format Converter
The Format Converter tool is designed to convert local media files. To begin, click the "+ Add" button to select local audio files from your computer. Then, click "Convert" to output it in your desired format, including MP3, M4A, FLAC, WAV, OGG, AIFF, and ALAC.
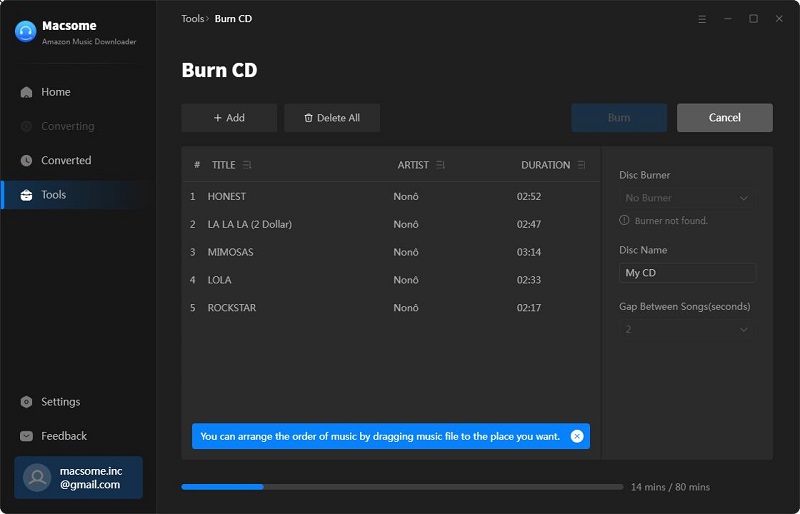
CD Burner
It provides a convenient solution for users who want to burn the downloaded Amazon Music songs or other local audio files to CDs. By clicking the "+ Add" button, you can import the songs you have just converted into the list. Insert a blank disc into your CD or DVD burner, and then click "Burn" to initiate the burning process.
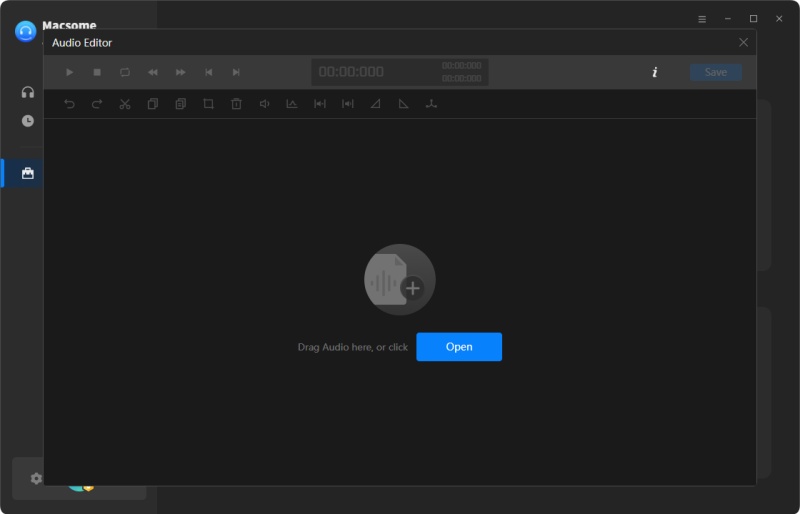
Audio Editor
Macsome Amazon Music Downloader features a new free Audio Editor, which allows you to cut, copy, paste, trim, split, and delete audio segments. Adjust volume levels, apply fade-in/fade-out effects, and normalize audio for consistent levels.
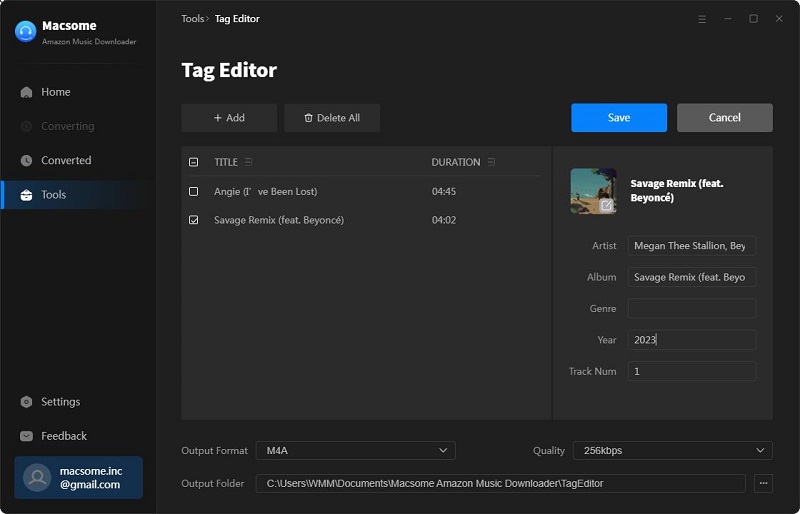
Tag Editor
In the Tag Editor section, you can modify the tag information of songs. Click the "+ Add" button to import the local audio files, then edit the parameters you want. Once you have made the desired changes, simply click "Save" to save the changes.